
Lập trình UART Arduino STM32
Sau bài 1 mình đã giới thiệu chạy nháy led trên kít stm32f103c8t6
Bài 2 mình sẽ giới thiệu chạy ứng dụng serial trên stm32 với Arduino
-Đầu tiên các bạn chuẩn bị module serial PL2303 hoặc ch340
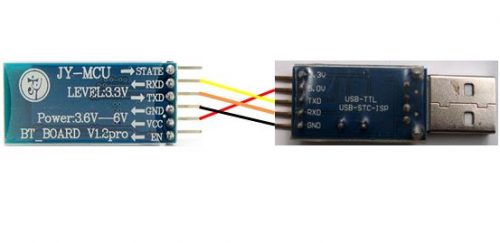
Để module chạy được các bạn cần kết nối GND với STM
TX-PA10
RX-PA9
Serial 1
TX-PA2
RX-PA3
Serial 2
TX-PB10
RX-PB11
Serial 3
Bạn có thể kết nối một trong 3 serial
Đến phần code viết như arduino bình thường
#define led PC13
#define LED_PIN PB9 // TIMER4
void setup() {
// put your setup code here, to run once:
// Serial.begin(9600);
Serial1.begin(9600);//khởi tạo PA9,PA10
Serial2.begin(9600);//Khởi tao PA2,PA3
Serial3.begin(9600);//Khởi tạo PB10,PB11
pinMode(led, OUTPUT);//LED
pinMode(LED_PIN , PWM);//PWM
Serial1.println(“START”);
}
void loop() {
// put your main code here, to run repeatedly:
for(int duty=0;duty<255;duty++)
{
analogWrite(LED_PIN, duty);
digitalWrite(led, HIGH); // turn the LED on (HIGH is the voltage level)
delay(100); // wait for a second
digitalWrite(led, LOW); // turn the LED off by making the voltage LOW
delay(100);
// Serial.println(“Hello World\n\r”);
Serial1.println(“Hello World\n\r”); //Tuyền dữ liệu lên máy tính PA9,PA10
Serial2.println(“Hello World\n\r”); //Tuyền dữ liệu lên máy tính PA2,PA3
Serial3.println(“Hello World\n\r”); //Tuyền dữ liệu lên máy tính PB10,PAB11
}// wait for a second
}
để kiểm tra các bạn thấy led trên module nháy là ok
Dùng phần mềm terminal để theo dõi
như vậy các bạn đã có thể chạy đơn giản với serial Arduino STM32
Mọi thắc mắc liên hệ Linhkienagv.com để hỗ trợ tốt nhất